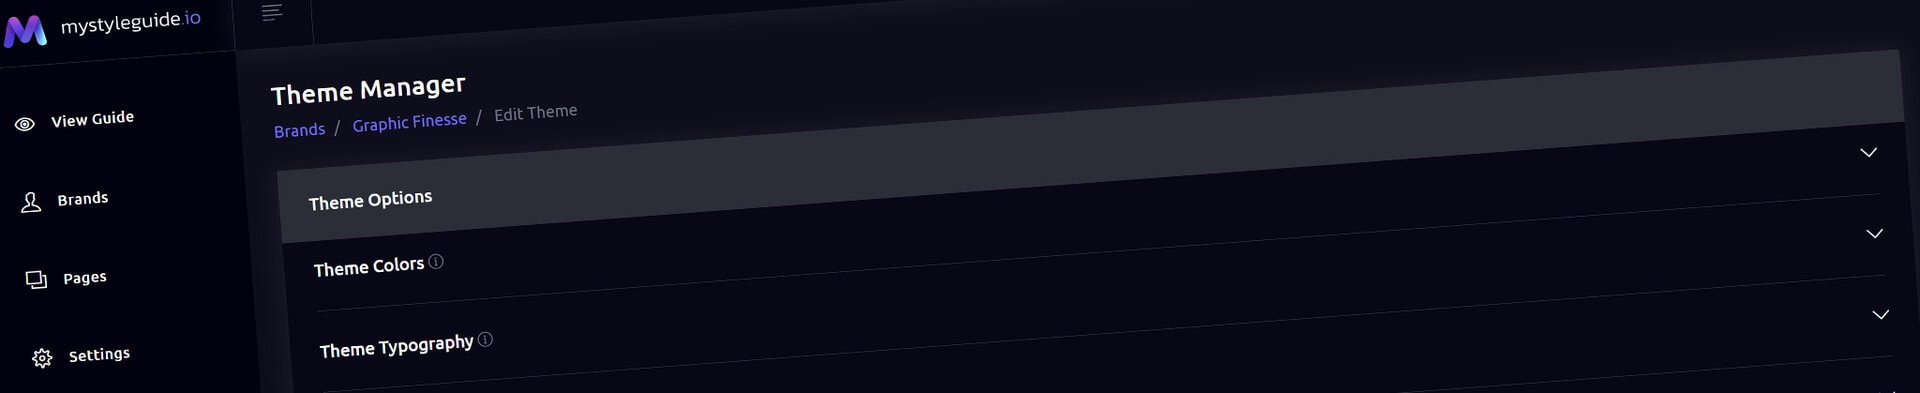
The Theme Manager controls the visual identity of your entire brand guide. From colors and typography to logos and interface styling, every change you make here is applied consistently across your guide.
If you're defining how your brand looks, this is where you'll do it.
From the Theme Manager, you can:
These settings work together to create a consistent visual experience across every page of your brand guide.
Control the colors used throughout your guide.
Every color can be selected with the built-in color picker or entered directly using a HEX value.
Customize the appearance of your navigation, including:
Set the primary colors used throughout your pages.
Available options include:
These colors establish the overall look and feel of your guide.
Control the default colors used for text throughout your guide.
Configure separate colors for:
Using dedicated typography colors helps maintain readability while supporting your overall brand palette.
Customize the fonts used throughout your brand guide.
The Theme Manager supports both hosted fonts and self-hosted font files, giving you complete control over your brand's typography.
Use Custom Font Import CSS to load fonts using CSS @import statements.
This is commonly used with services such as:
@import CSSFor example:
@import url('https://fonts.googleapis.com/css2?family=Figtree:ital,wght@0,300..900;1,300..900&display=swap');
Multiple @import statements may be added when using more than one font provider.
Some font services provide a stylesheet link instead of an @import statement.
Paste the supplied HTML into the Font Embed Code field.
Examples include:
Example:
<link rel="preconnect" href="https://fonts.googleapis.com">
<link rel="preconnect" href="https://fonts.gstatic.com" crossorigin>
<link href="https://fonts.googleapis.com/css2?family=Figtree:ital,wght@0,300..900;1,300..900&display=swap" rel="stylesheet">
Once loaded, the font families become available throughout your brand guide.
The Theme Font Files section allows you to upload your own licensed font files directly to your brand.
Supported file types include:
Uploaded files are stored in your brand's dedicated fonts directory.
When creating your stylesheet, reference each font using its direct path.
For example:
@font-face {
font-family: "Xombico";
src:
url("https://example.com/direct-font-url/Your-Font-Regular.woff2") format("woff2"),
url("https://example.com/direct-font-url/Your-Font-Regular.woff") format("woff");
}
After uploading your font files and stylesheet, reference the stylesheet in the Font Embed Code field.
This makes the uploaded fonts available throughout your brand guide.
Uploaded fonts can be managed directly from the Theme Manager.
Remove an individual font file or stylesheet when it is no longer needed.
You'll be asked to confirm before the file is permanently deleted.
Remove every uploaded font file and stylesheet.
Because this action permanently deletes multiple files, you'll be asked to confirm before continuing.
Choose the default font family used throughout your guide.
Configure separate fonts for:
Any fonts loaded through Custom Font Import CSS or Font Embed Code become available for selection.
Configure the default font size for:
These defaults establish the typography used throughout your brand guide while still allowing individual components to override them when needed.
Assign the default font weight for:
These settings help create a consistent typographic hierarchy across every page.
Assign the images used throughout your guide.
Your favicon appears in browser tabs and bookmarks.
For best results, use a high-quality square image.
Choose the logo displayed in your guide's navigation.
Uploaded brand assets are available directly from the media library, making it easy to update your branding whenever needed.
Use Media Upload to add new assets directly to your brand.
Supported media includes:
Uploaded files immediately become available throughout your brand guide, including Theme Manager, Components, and other media-enabled features.
Customize how MyStyleGuide.io looks while you're managing your brand.
Choose from:
These settings affect only your editing experience and do not change the public appearance of your brand guide.
Click Save Theme Settings to apply your changes.
Your updated colors, typography, uploaded fonts, images, and interface settings are immediately applied across your entire brand guide, ensuring every page stays visually consistent.
Owners and Managers can update theme settings, upload fonts, and manage font files for a brand.
Users with view-only access can browse published guides but cannot modify the brand's visual settings.
The Theme Manager is the foundation of your brand's visual identity.
From here you can define colors, configure typography, upload custom fonts, manage logos, and customize the overall appearance of your brand guide, ensuring every page presents a consistent and professional experience.